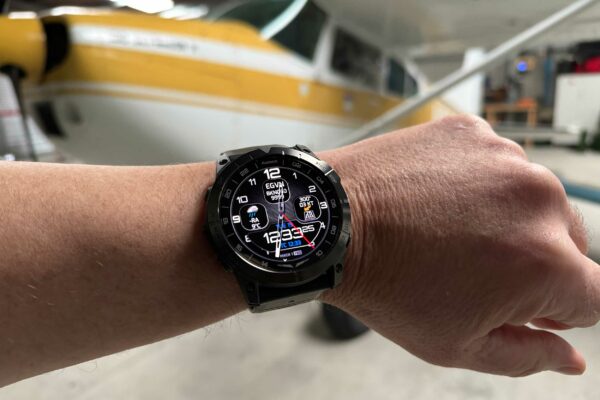
The devil, as they say, is in the detail, so when it came time to sort the task of placarding the cockpit of the RV which me and my mate Steve are building, we figured that we’d try a bit harder than just home-printed labels.
My first port of call was to the Light Aircraft Association Type Acceptance Data
Sheet for the RV-8, to make sure that we included the basic placards required. Beyond that, we added a few that were particular to key details in our own aircraft.
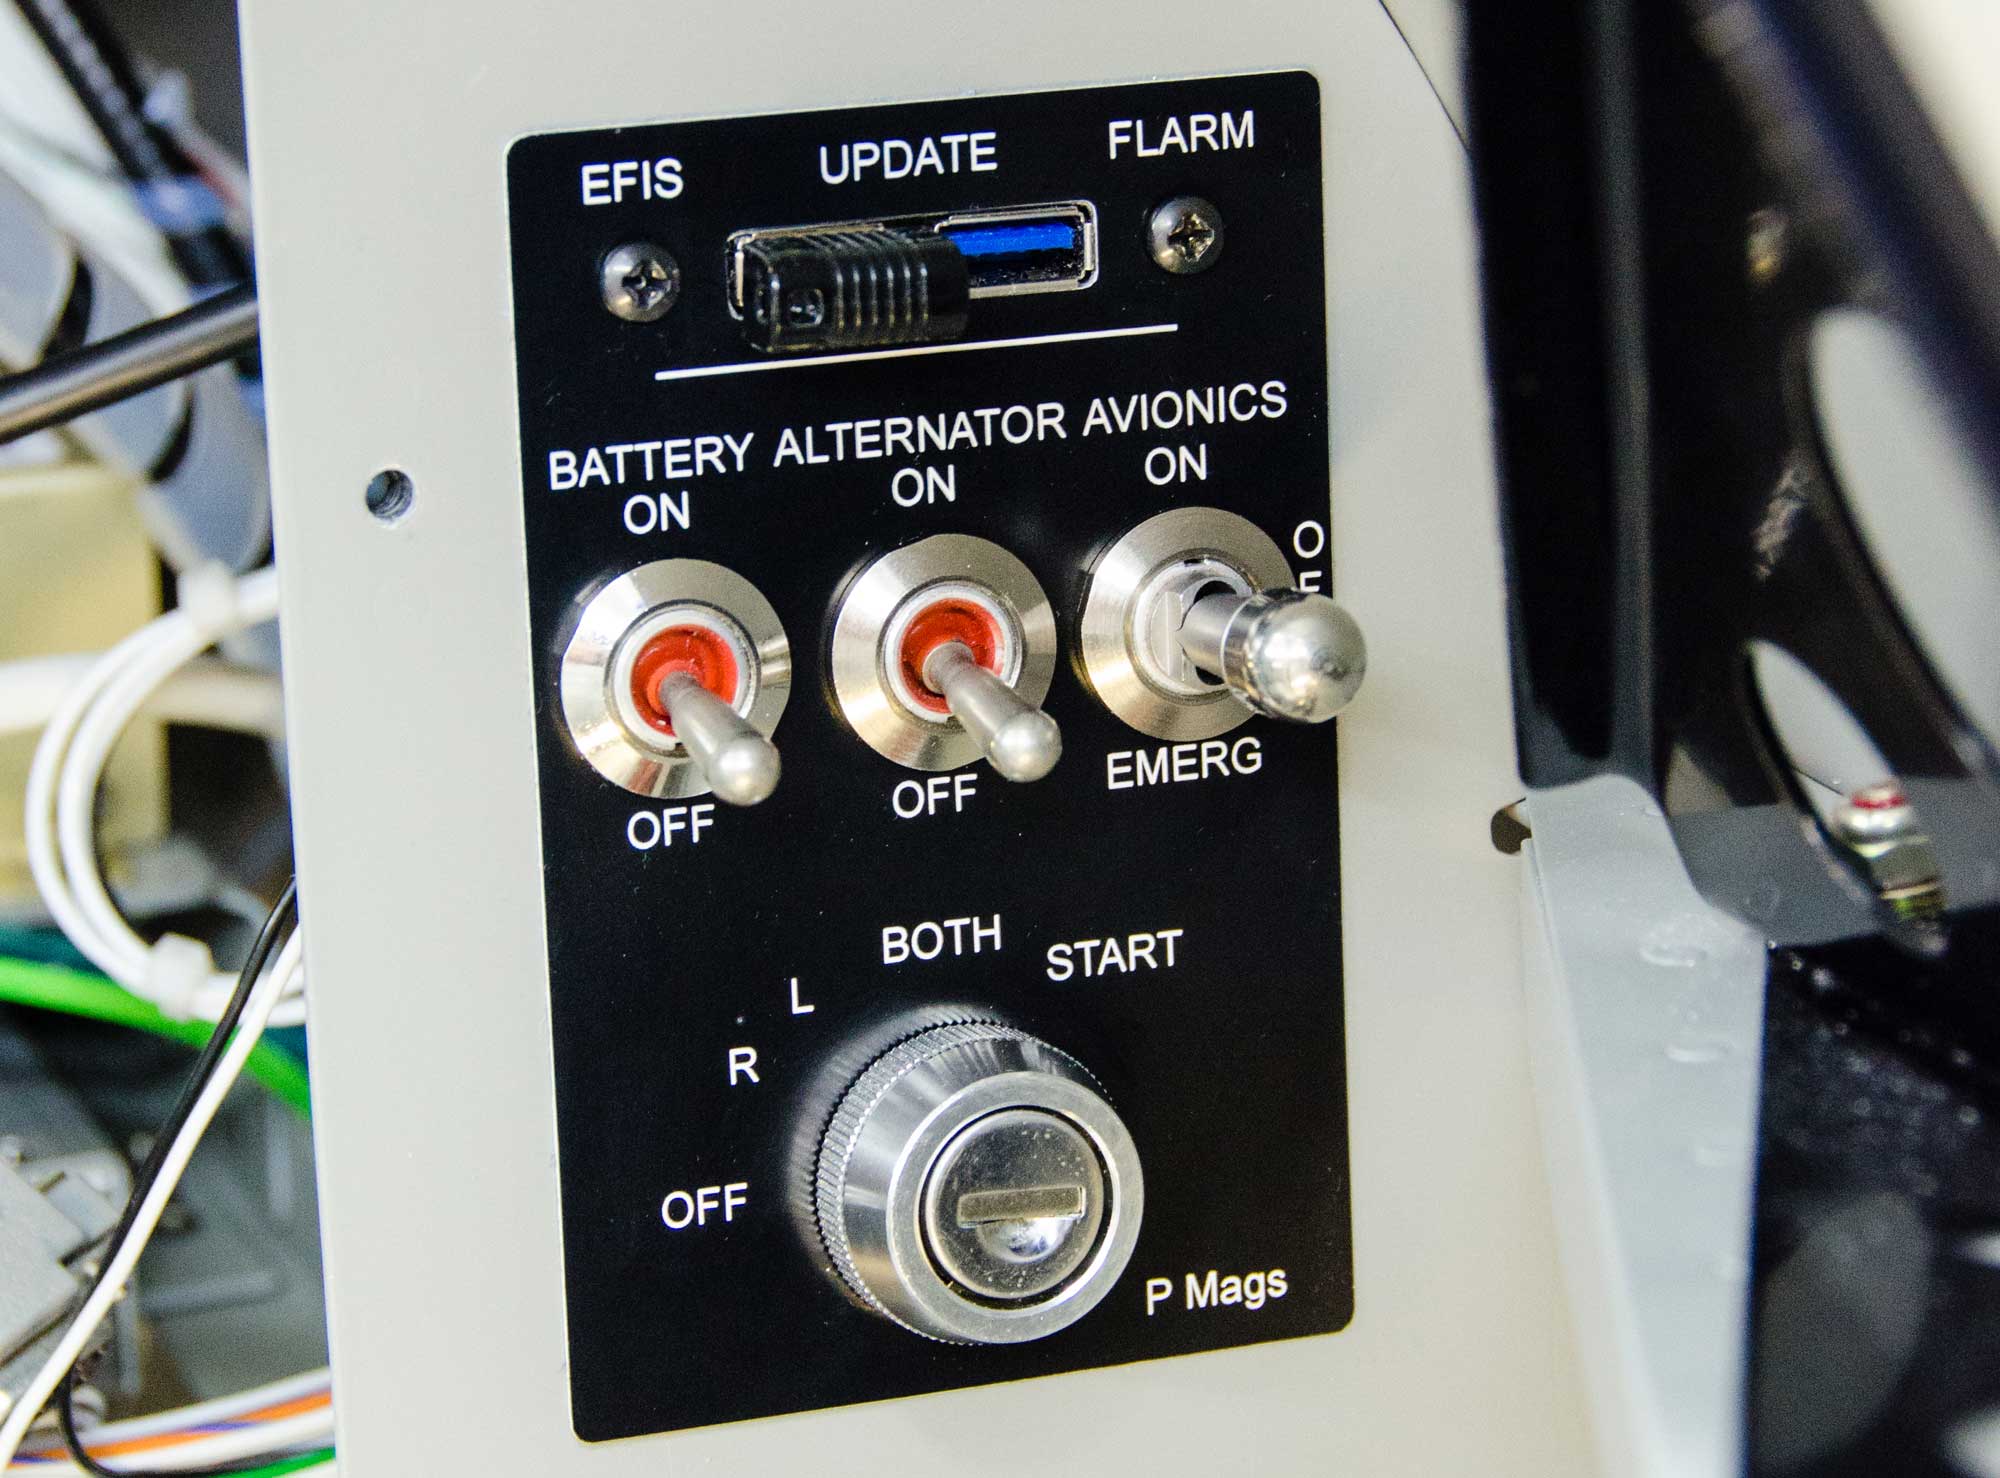
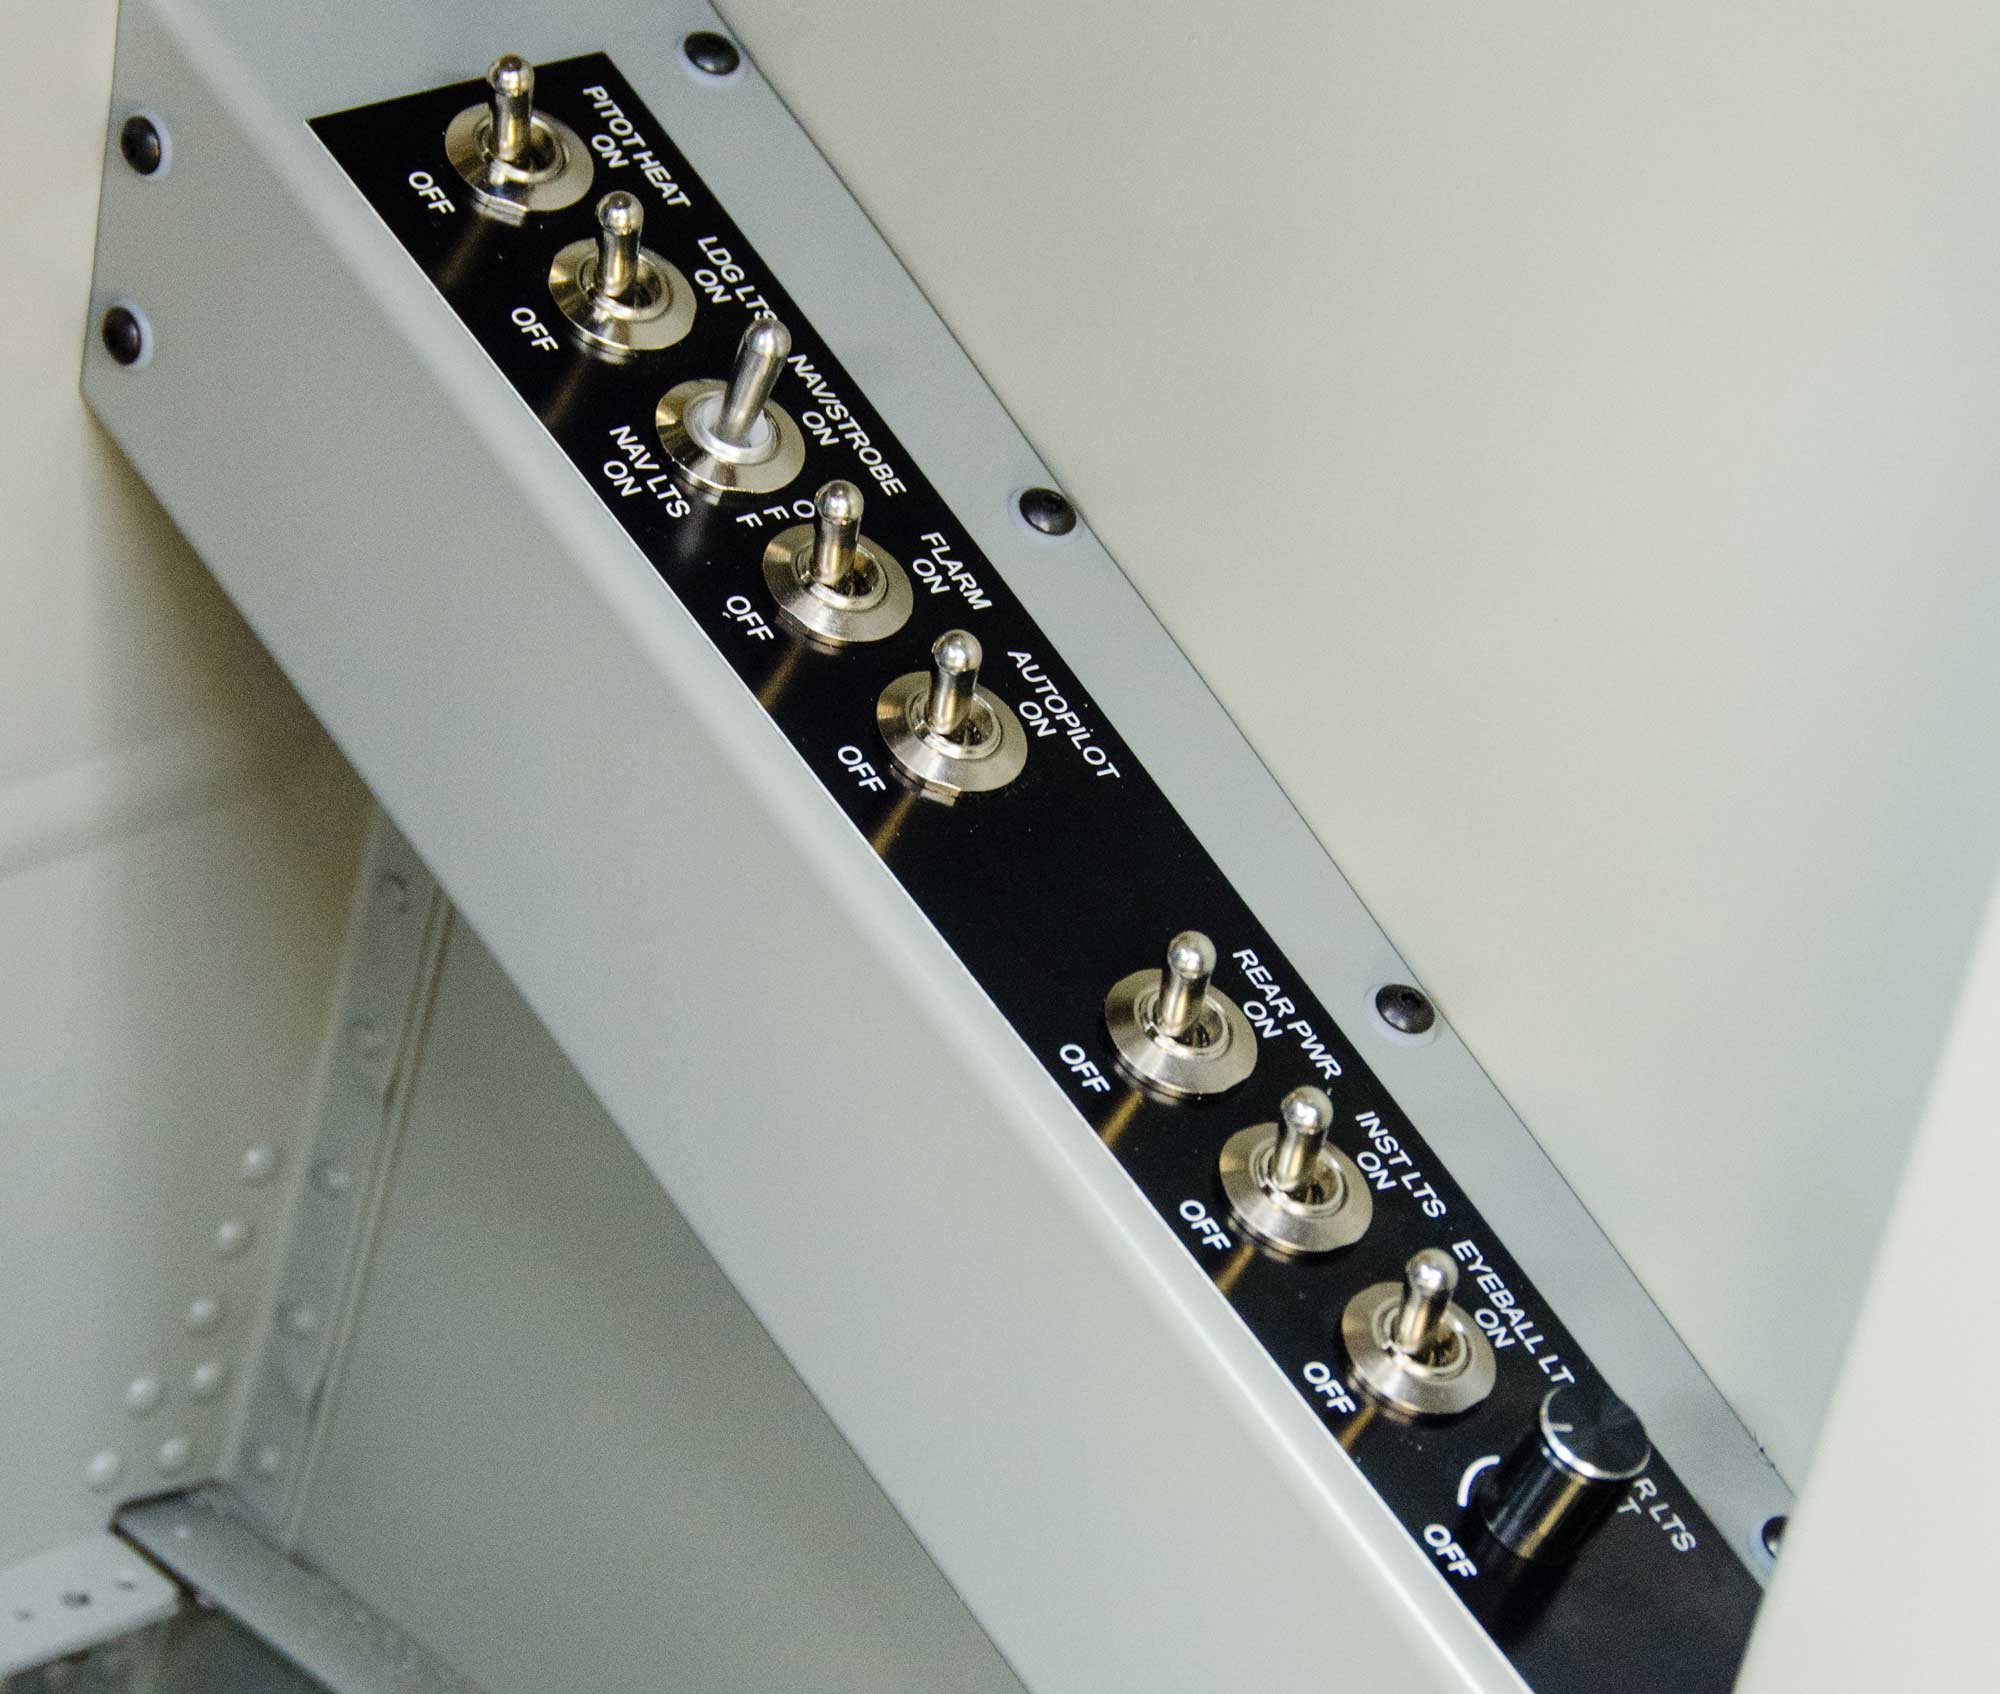
Throughout our project, the aim has been to keep things looking simple and tidy, and as the cockpit tends to be one place that’s especially important, we spent a bit of time thinking about where to place certain information and how it might be best grouped together.
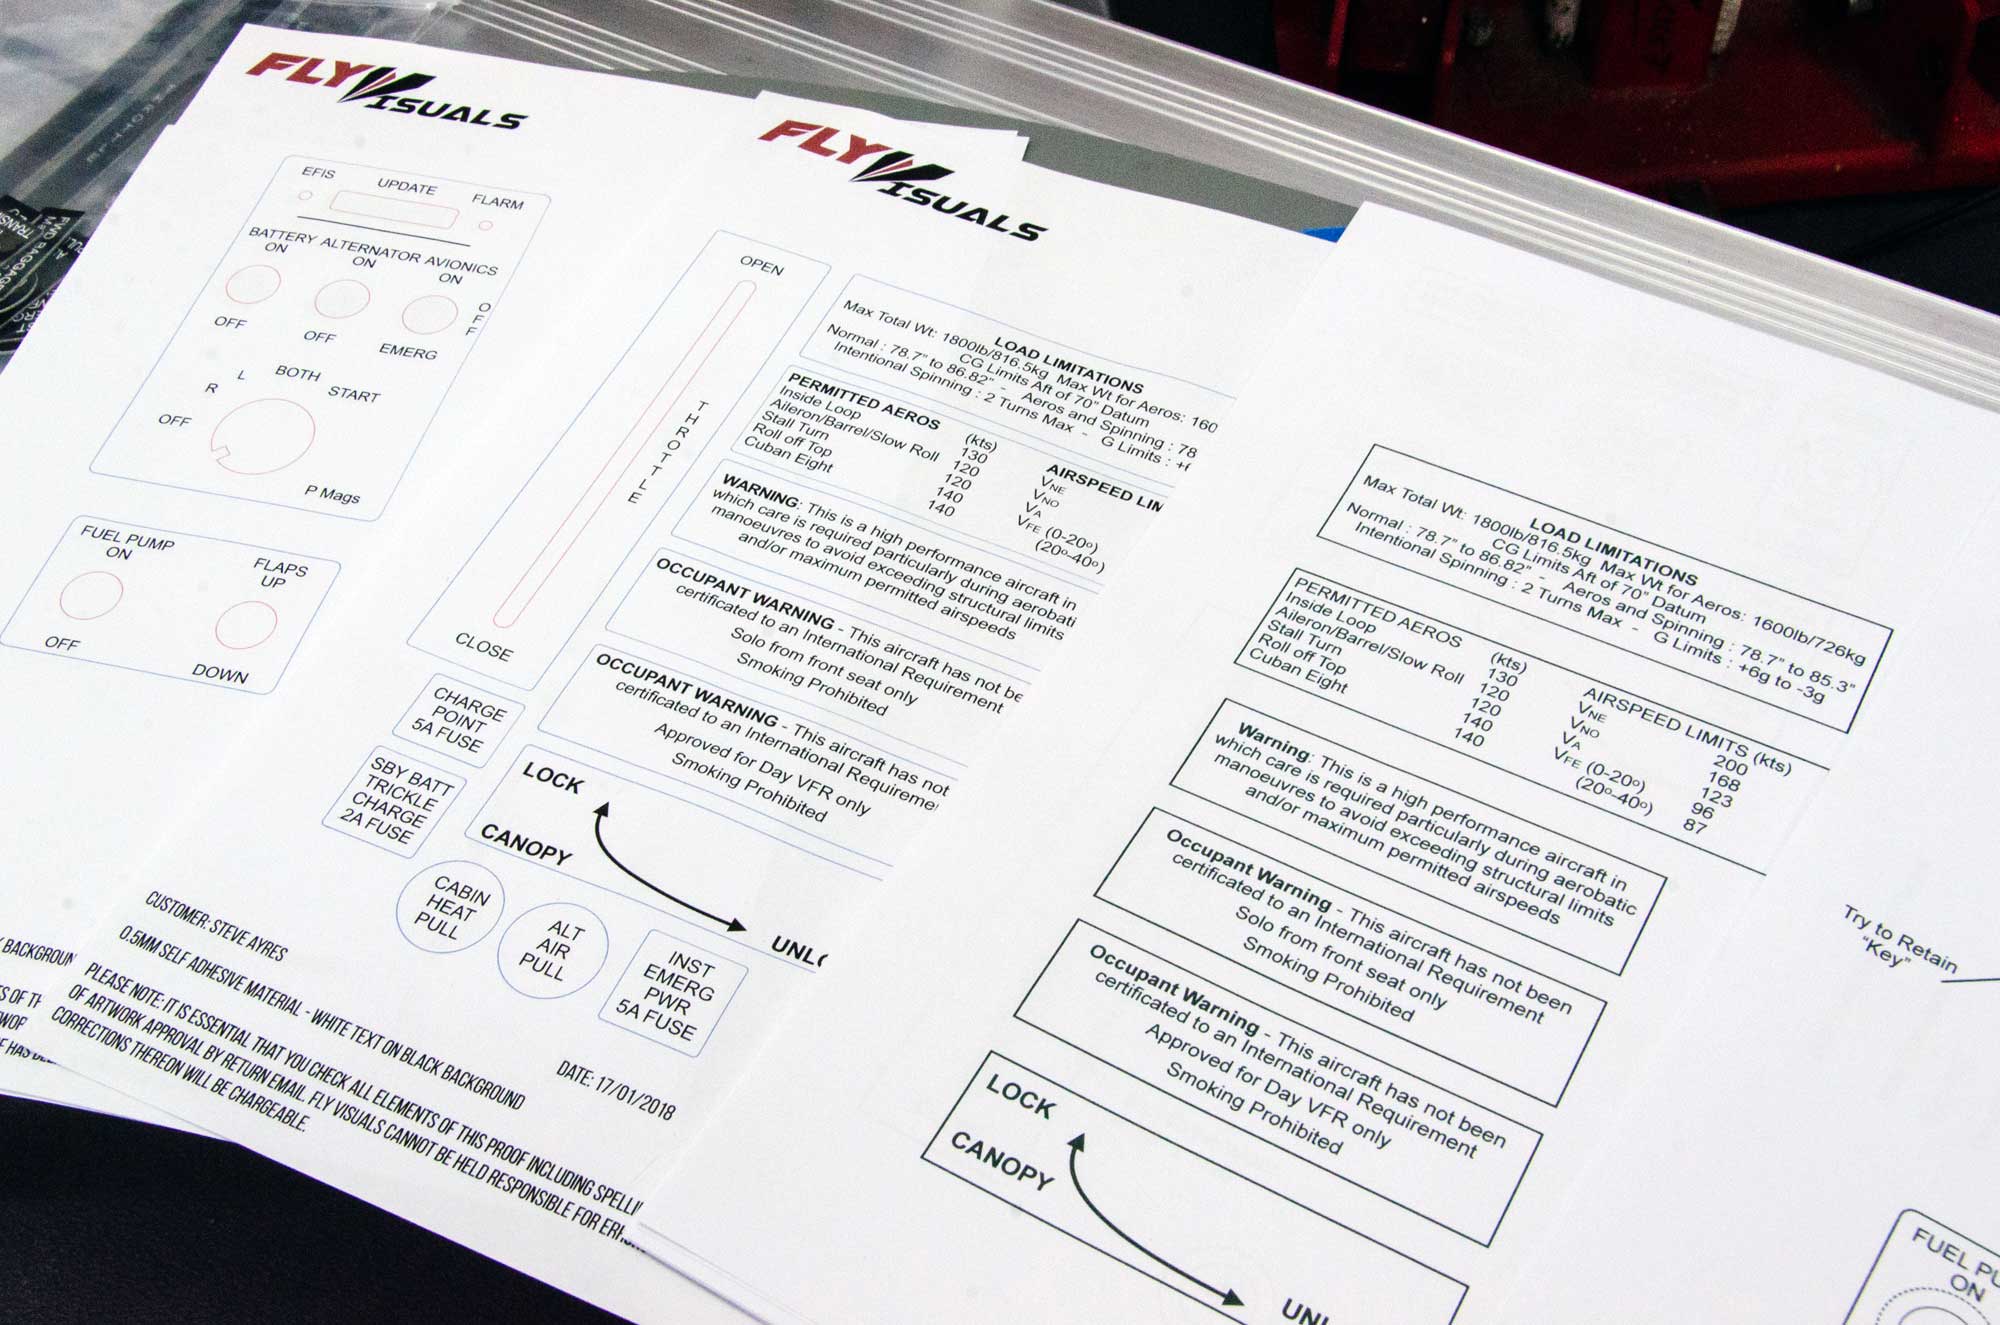
Steve designed the basic placards in Apple’s Pages programme, which he found worked better than Microsoft Word, as he could make easily-modifiable text boxes with rounded corners which could simply be typed into. The designs were then saved as PDF files and printed. At this point it’s important to check that your printer output is set at 100 per cent, and not ‘to fit page’, otherwise your careful measuring will have been wasted.
After some cutting and checking, to confirm things looked about right, we sent our designs to FlyVisuals. You can submit designs in a number of ways – as a basic email with the wording, a scanned copy of a hand-drawn placard, a section of the pilot’s operating handbook with placard information or, like us, as drawings with specific designs.
It’s worth noting that you’ll save money the more design work you do yourself.
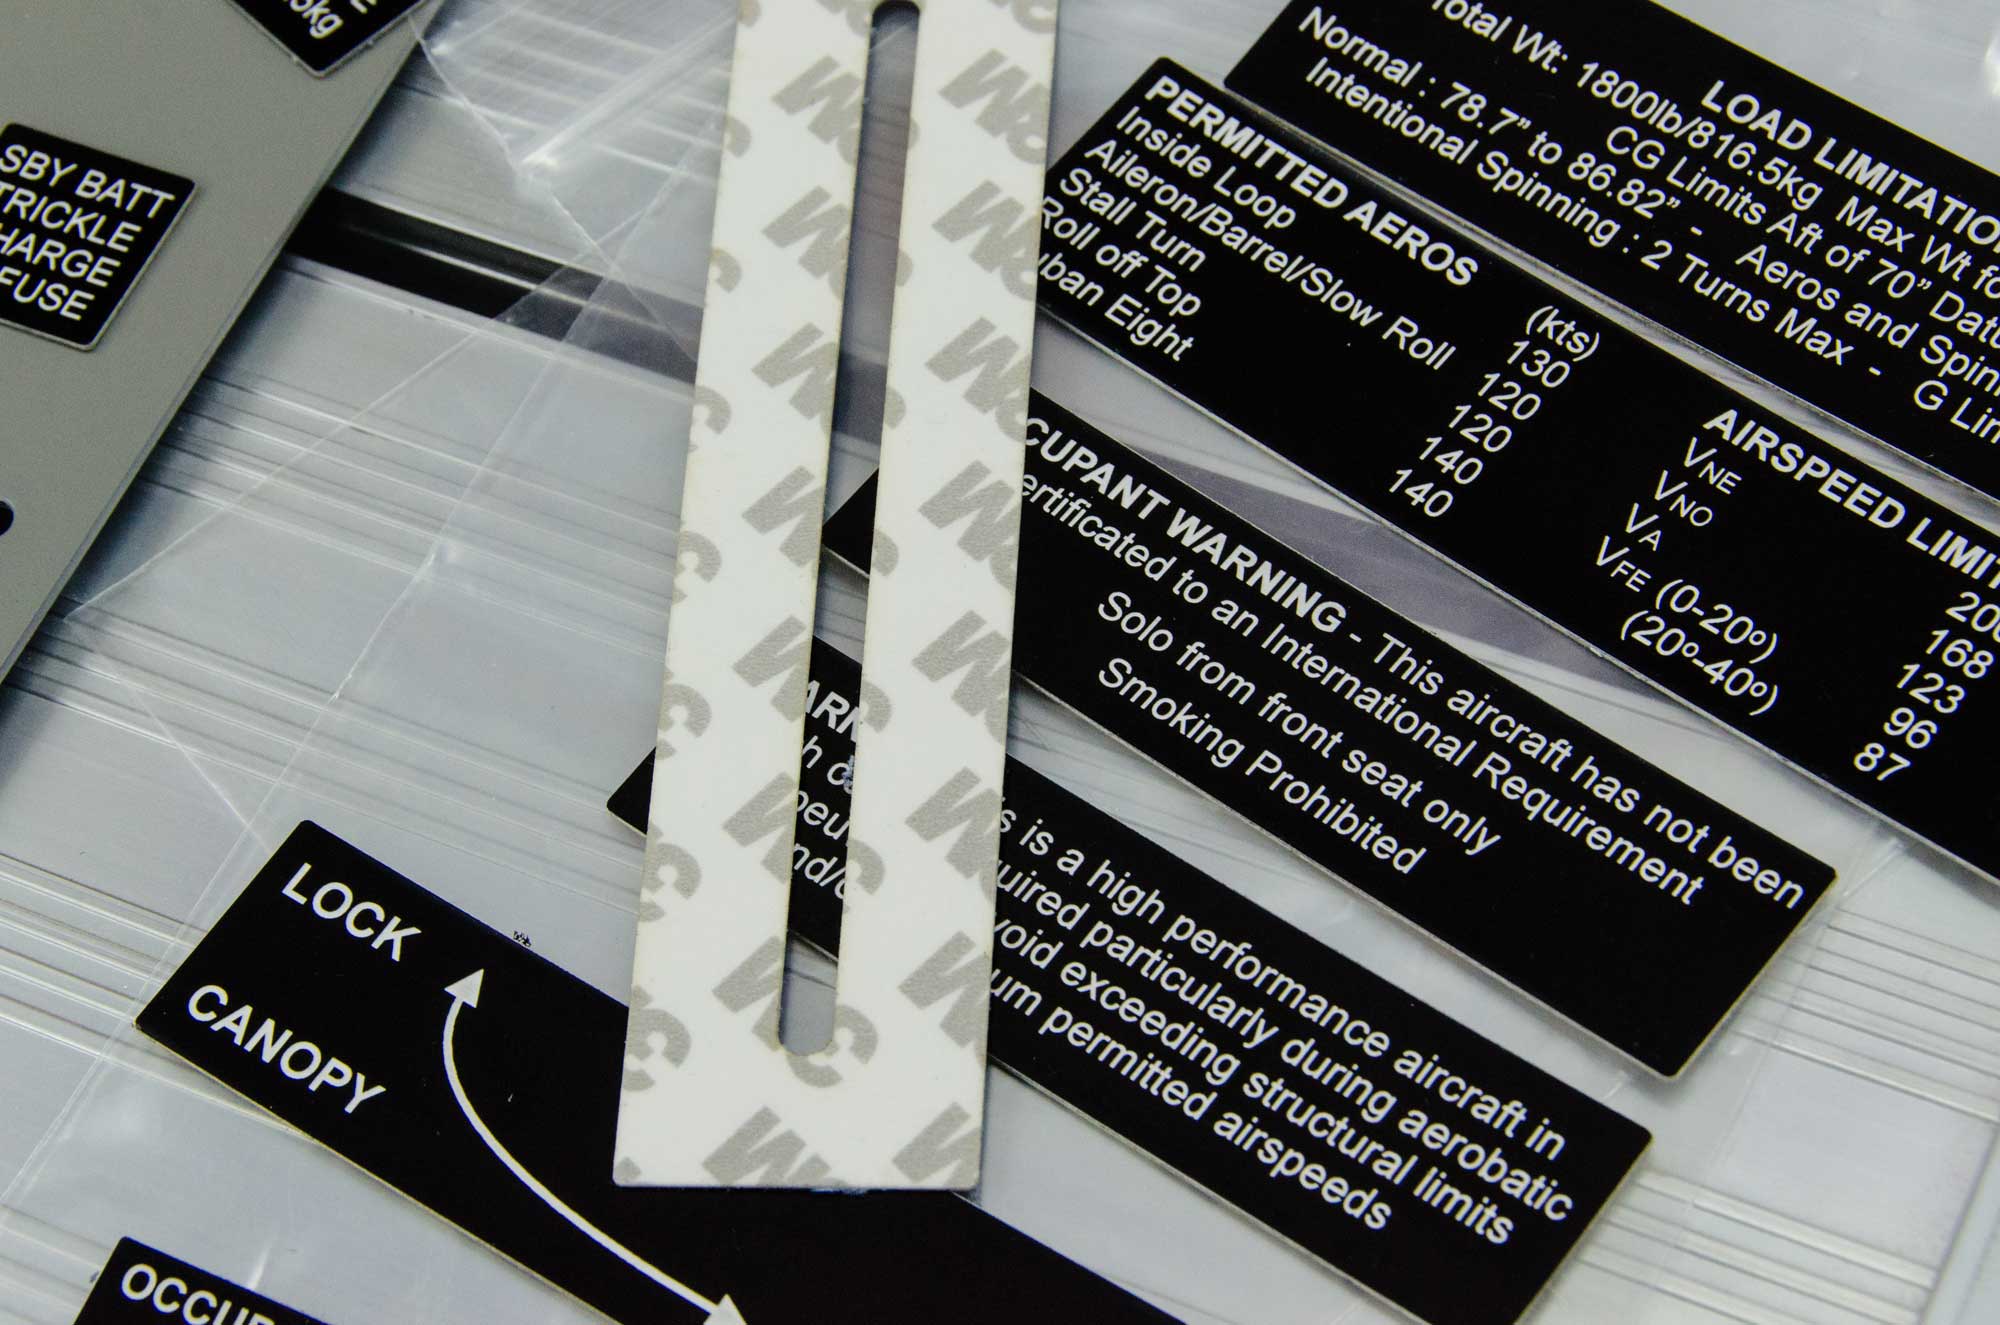
FlyVisuals sends you back PDF proofs to check and approve, and once you’re happy, laser-engrave on a choice of materials. Ours were 0.5mm thick, with white text on black, satin-finish plastic, and turned up ready to fit with 3M adhesive backing after just a couple of days.
Installation is easy, just be sure you’re careful, as that adhesive is very sticky, and you’ll risk damaging the placard if you try to pull it off again.
Our complete set cost £91, which we felt was great value for the service and product. The end result is a top-spec appearance, so whether you’re starting from scratch, like us, or renewing old placards, it’s a service I’d happily recommend.
The FlyVisuals process
1 Decide on the shape and size you need, then add the information you want on the placard. FlyVisuals will then turn this into a full-size PDF document you can print and check. The more work you do, the lower the cost will be.
2 The placards were laser-engraved on 0.5mm plastic – we went with white on black. A layer of 3M adhesive backing makes for easy installation.

3 Make sure that the surface is clean, and it may also help to use a piece of masking tape as a guide when you’re sticking the placards on. You only get one chance!
4 Stick the placard on, then stand back and admire! This placard was made with cut-outs for switches, which were screwed in afterwards


2 comments
After an aircraft ID placard.
150mm long x 15mm wide.
In black with white lettering
GCFTT is the wording I require.
John, call or email FlyVisuals direct to order :
Email: [email protected]
Tel: (+44) 01202 307887